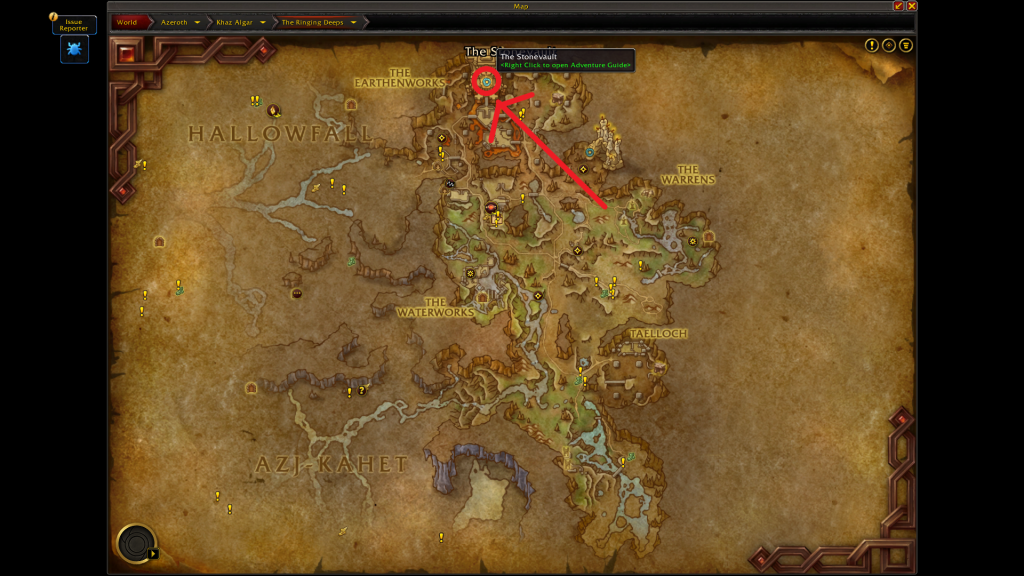
Located in the Ringing Deeps zone, the Stonevault is the last refuge of the ex-High Speaker Eirich and the second dungeon to become available in the new expansion. Inhabited by Earthen defences and void-formed monstrosities, here’s how to access and clear the Stonevault in WoW: The War Within.
Like the Rookery, you can access the Stonevault as soon as you are able to explore the area it is in, but unlike that dungeon it is not necessary to complete to progress the story. You will gain access to the group finder or follower mode for the dungeon upon reaching level 73, but in Adventure mode this will be available from 70-80.
Upon entering the dungeon with your group, there’ll be the customary packs of trash mobs on the way to the first boss, E.D.N.A. On normal difficulty, or even heroic depending on your power level, these will go down easily but on higher difficulties you should look out for the golem’s cone-shaped stun and the interruptable Arcing Void spell from the casters. The Repurposed Loaderbot enemies also have a pouncing AoE knockback to move out of. Clear all the packs around the room and the boss will walk forward, ready to fight.
How to defeat E.D.N.A. in the Stonevault in WoW: The War Within
The first boss of the Stonevault is a huge golem called E.D.N.A., and the most immediate mechanic to watch out for is its Volatile Spike ability. This summons large spikes from the ground that act like land-mines, exploding and knocking you back if you get too close as well as putting a stacking damage-over-time effect on the whole party. Other than simply walking into them, you can also destroy them by getting E.D.N.A. to hit them with its Refracting Beam, which the boss will aim at specific players marked by arrows.
At lower difficulties dealing with this is a simple case of not stacking the beams on top of one another or dragging them through the party, while clearing the areas of spikes. However, on higher difficulties the DoT damage adds up, so you will want to only clear a few at a time. This is especially important on Mythic difficulty, as the boss will shatter all the remaining spikes upon reaching 100 energy, so if you haven’t been clearing at least some of them this will be an enormous damage spike.
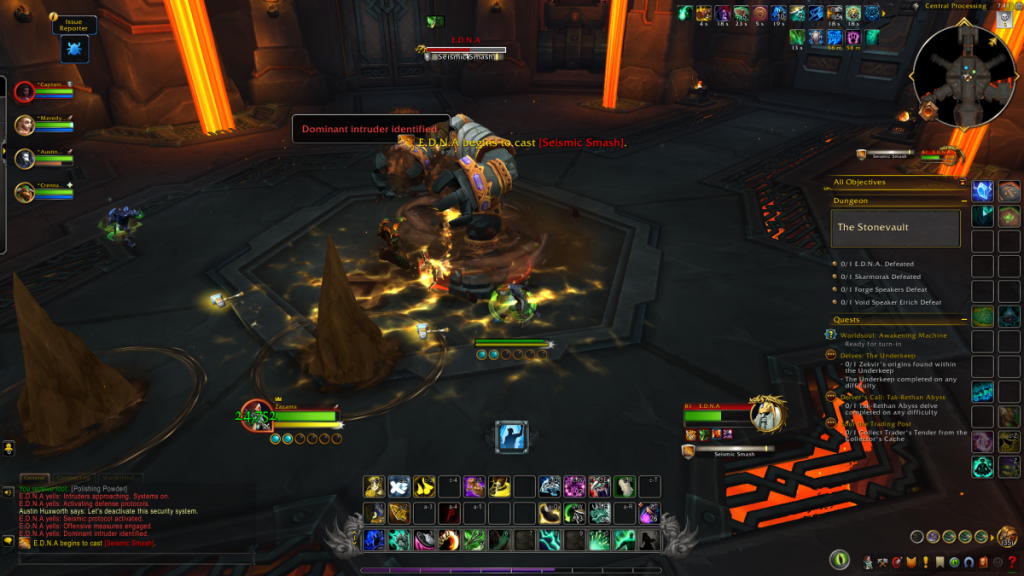
E.D.N.A. also has a tankbuster called Seismic Smash that leaves a 30 second DoT effect on it’s victim. Tanks should use their defensive cooldowns when this comes up, but healers should refrain from dispelling the debuff until the next cast of Seismic Smash. This is because dispelling the DoT grants the tank a whopping 50% damage reduction for a few seconds, which will be important for surviving the next big damage spike.
After E.D.N.A. is down, you’ll have a choice on whether to go right or left. You’ll need to clear both wings before returning to the center, so which you clear first is entirely your choice.
How to defeat Skarmorak in the Stonevault in WoW: The War Within
The eastward path leads to the boss Skarmorak, a void abomination. Theres another corridor of trash on the way including Turned Speakers who have a silence called Censoring Gear, and Aspiring Forgehands that have a stacking armor melting debuff for tanks to watch out for.
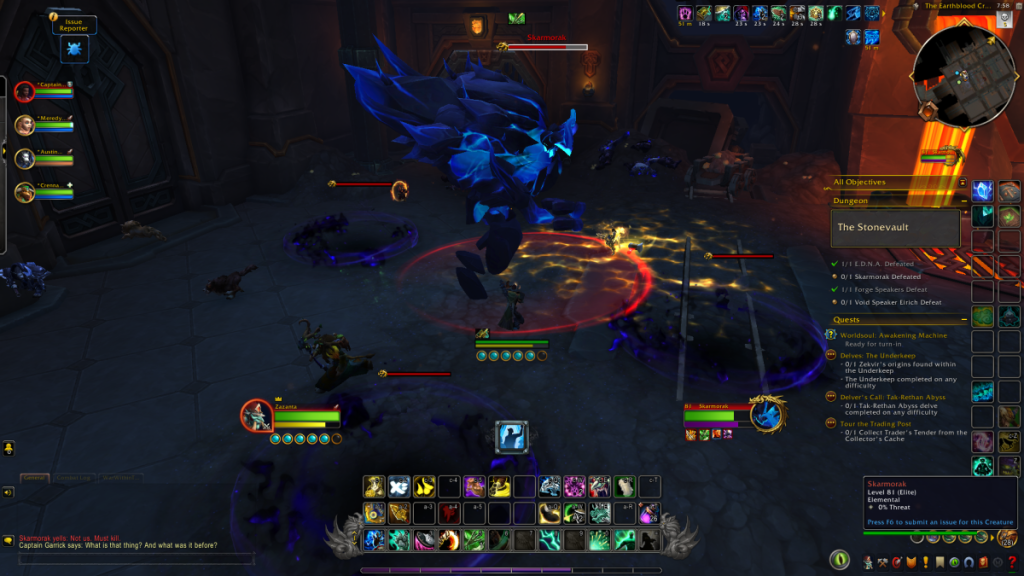
Again, clear the boss room of trash before you engage, because this one will require some movement. Skarmorak will use a tankbuster called Crystalline Smash that is a fair bit weaker than E.D.N.A.’s, but also spawns Crystal Shards around the arena. Killing the shards will be important for a future mechanic, but make sure to do it one at a time as they deal a short burst of party-wide DoT. The boss will also periodically cast Unstable Crash, an AoE around it that also spawns some smaller blasts. Avoid these attacks, and refrain from picking up the orbs of void left behind. They deal damage over time again, but also boost healing done and damage dealt against the boss’s shield, which will be put to better use in the next phase.
As the boss uses its abilities, its energy will drain. At 0, Skarmorak will cast Fortified Shell and grant itself a large shield, with each Crystal Shard still up increasing this further. Damage dealers and the healer will need to grab the orbs left behind by Unstable Crash to boost their damage and healing and burst down the shell before the ramping damage it pulses wipes the party. Pull it off, and Skarmorak will be briefly stunned and the phases repeat. When the boss is downed, take the minecart back to the central room and head to the other wing.

How to defeat the Master Machinists in the Stonevault in WoW: The War Within
This fight is a complicated one, and the trash on the way can hurt too if you’re not careful. The large mech mobs will stand in place and fire a fiery orb forward that players will need to avoid, and those armor-melting Aspiring Forgehands make a return in large groups so keep any AoE stuns handy.
This encounter actually consists of two bosses: Speaker Dorlita in one of the Earthen mecha, and Speaker Brokk who is more of a caster. While Dorlita is the big presence, it’s actually Brokk who has the tricky mechanics to keep an eye on. But before you engage either of them, orient yourself within the room. There are two blocks of scrap on either side of the room, as well as four vents around the edges. These will be important to mechanics later.
First off, Brokk has a spell called Molten Metal that he likes to cast often, and you’ll want to interrupt it as often as possible because it slows the entire party by 50%, on top of a DoT effect. Considering the amount of movement in this fight, that on its own can be lethal. He will also activate the vents, spilling pools of damaging lava into the room. Note that one of these vents will remain inactive, and moving towards that side can keep you clear. Finally, Brokk will at times cast Scrap Song as he jumps out of the fight and into a spot behind one of the scrap blocks, firing it into the center of the room after a delay. Not only will this stun, damage, and knock back anyone hit, but he also likes to cast Molten Metal immediately after so have a DPS (ideally a ranged one) ready to interrupt him.
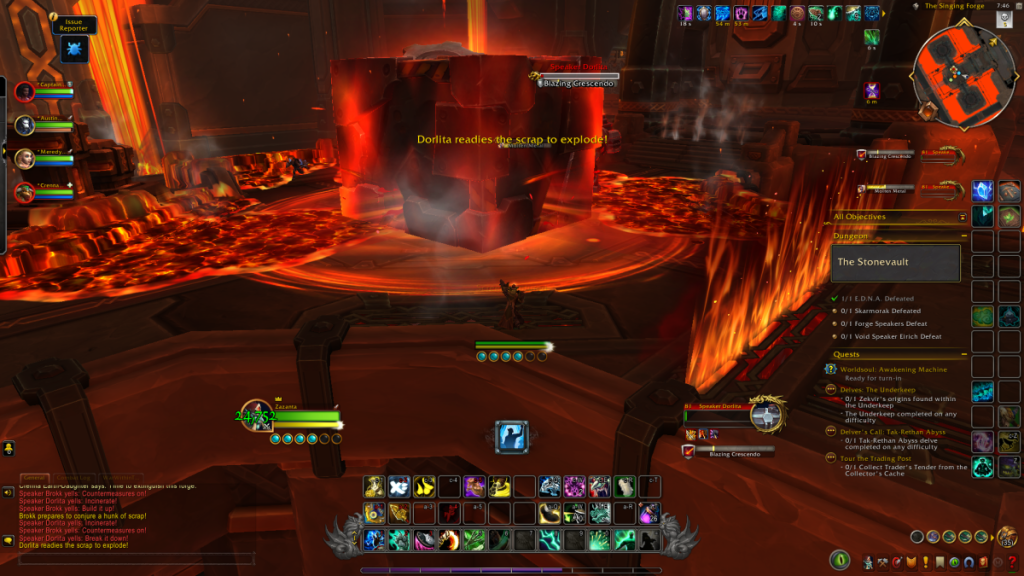
Then we get to Dorlita, who has the usual big hit for the tank to deal with, called Igneous Hammer this time. However she also has the same Lava Cannon ability as the other mechs in the prior corridor, so be ready to move when she turns and starts charging it. Finally, when Brokk fires his brick of scrap towards the center she will sometimes catch it and cause it to explode, so get away from the center altogether when Scrap Song starts. On Mythic difficulty this gets even worse, as the brick will explode into four blobs of magma that move outwards.
All these moves in conjunction can make this fight overwhelming at the higher difficulties, but you can break it down into two main priorities. Firstly, make sure to interrupt Brokk’s Molten Metal as much as possible. Secondly, when he activates the vents move to the center of the inactive one, as this is conveniently safe from all the lava blobs. Manage those two things while dealing damage and avoiding the more obvious attacks, and you’ll be golden. When the boss(es) are down head back out of the room to find another minecart back, behind some more trash mobs.

How to Defeat Void Speaker Eirich in the Stonevault in WoW: The War Within
Finally we get to Eirich, the reason we’re here (at least story-wise). Thankfully, compared to most of the other fights Eirich is actually fairly simple. But first we have some potentially painful trash to deal with on the way.
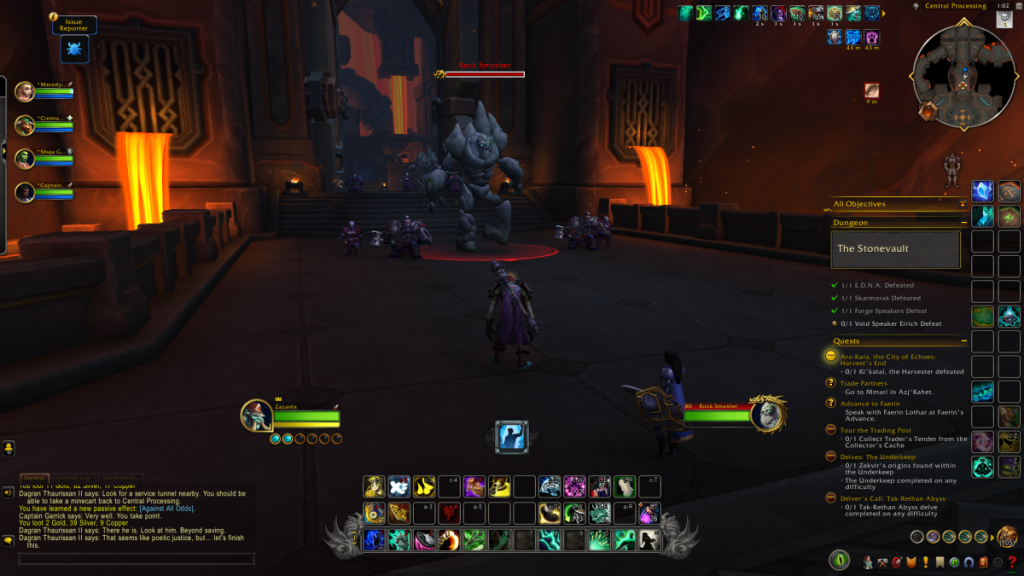
A new enemy type called Honor Guards will appear now, who like to do stunning charges in the direction marked by an arrow at their feet. If you can keep an eye on the direction, they’re simple enough to dodge. More threatening are the creatively named Rock Smashers, who are large golems with the ability to use Smash Rocks. This deals damage to the party, spawns smaller AoE’s around them, AND increases the damage taken from subsequent Smash Rock casts, so be sure to take them out as soon as possible.
Further back towards the boss rom, there’s the Stoneshapers who cast Earth Burst Totem. These totems can be a pain to see with all the effects flying, but they deal a lot of damage if you don’t kill them before they get their cast off so kill them fast as you can. Be careful when pulling in the boss room, as two of the Rock Smashers are close to each other and fighting two at a time can lead to ramping damage.
Then, the boss himself. You’ll immediately notice the two large void portals on either side of Eirich, which will kill you if you walk too close, but you’ll also need to go near them to cleanse a ramping debuff he casts called Void Corruption. This increases in damage by 25% every 3 seconds, so you’ll want to run within 15 yards (but outside of 3 yards!) of a portal as soon as possible. On Mythic these portals will disappear after you use them to cleanse a debuff, reappearing somewhere else and forcing you to prioritize weaker classes or those without defensive cooldowns and sustain. Make sure to discuss an order with your allies before pulling the boss.
His next ability is called Entropic Reckoning, and this drops a damaging pool at the feet of each player after a delay. As is the standard with these kinds of pool-dropping mechanics, drop them near the edge of the arena to reduce how much you have to step on them. If you can survive a bit of damage, drop them on top of an existing pool to save even more space.
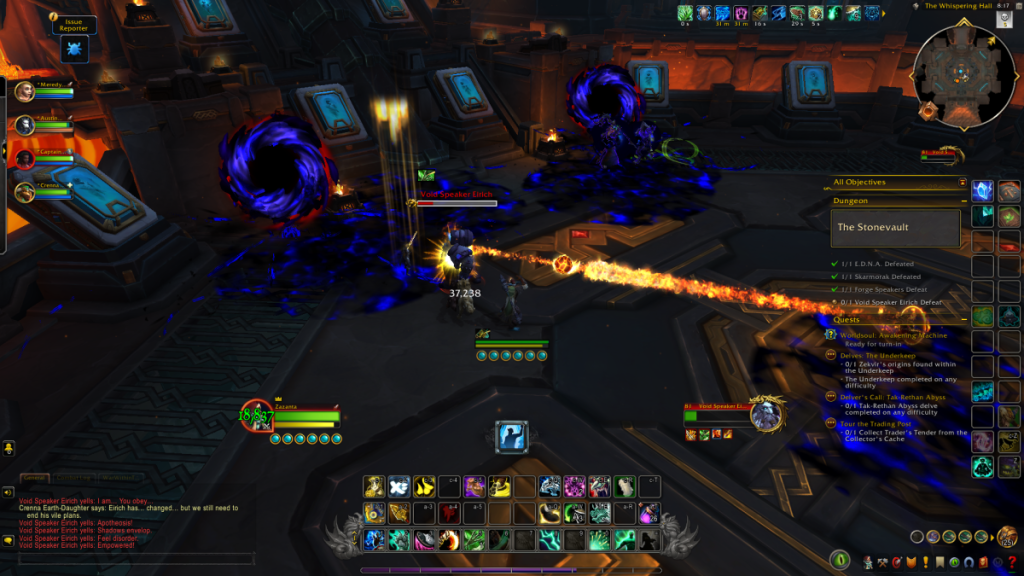
Finally, there’s Unbridled Void. This is a very simple cone attack that will hit about a quarter of the arena, so run through or to the sides of Eirich as he channels to avoid it. This is why it’s doubly important to drop the pools near the edge so you have as much space to work with here as possible. Get all of those down and Eirich shouldn’t trouble you, even on Mythic difficulty.
If you enjoyed this guide or found it useful, feel free to check out Siliconera’s other guides on where to find Profession Trainers in The War Within, or how to clear the Rookery dungeon.
World of Warcraft is immediately available for PC and Mac, while The War Within expansion is available now in early access for owners of the Epic Edition. The expansion will launch in full on August 26, 2024.